Azure DevOps
It is a good idea to use a source control system even for your small personal projects. I prefer Azure DevOps as it integrates well with the tools and technologies I use and is completely free with unlimited, cloud-hosted private Git repos. It also has many collaboration, task management, continous delivery and integration features which you can explore anytime,
Here are the steps to host your source code on Azure DevOps:
- Have a free Microsoft account (@outlook.com) and signup for Azure DevOps at https://dev.azure.com
- Create a new organization. Ideally you should have only one to manage all your personal projects.
- Create a new project. Again, only one project is enough to manage all your related small projects.
Adding a new software project to the repo:
- Go to https://dev.azure.com/, and go to your project created (see above).
- Go to Repos section.
- Create a new repository and give it the name of your app/project (Choose Git as repository type and uncheck adding ReadMe and ingnore files as this can be added later from VS). Copy the clone url.
- Now create your project in Visual Studio or open an existing project. Make sure the project files are stored in a properly organized folder where all your related projects are grouped.
- Open Team Explorer and click on Manage Connections button (green plug icon next to home icon).
- Click on "Connect..." link under the Hosted Service Providers (Azure DevOps) section.
- Login using the Microsoft account. This will then display all the projects and repos created under Azure DevOps. Choose the correct repo.
- Provide the physical path of the solution file and then choose the "Connect" option by clicking the "Clone" dropdown.
- After it is connected, go to the Solution Explorer again.
- Click on Create Git Repository and choose Local Only option and complete the process.
- Make some changes to check if red ticks are coming on changed files and other files have blue locks.
- Now create a solution item "README.MD", a text file in Markdown format to store all information about the project. This will get displayed on the Azure DevOps portal as well.
- Go to the Git Changes tool window or Right click solution and choose Git > Commit or Stash..
- Add a comment and click on Commit All
- The click on Push and choose the Remote Other option and provide the copied clone url from Azure DevOps.
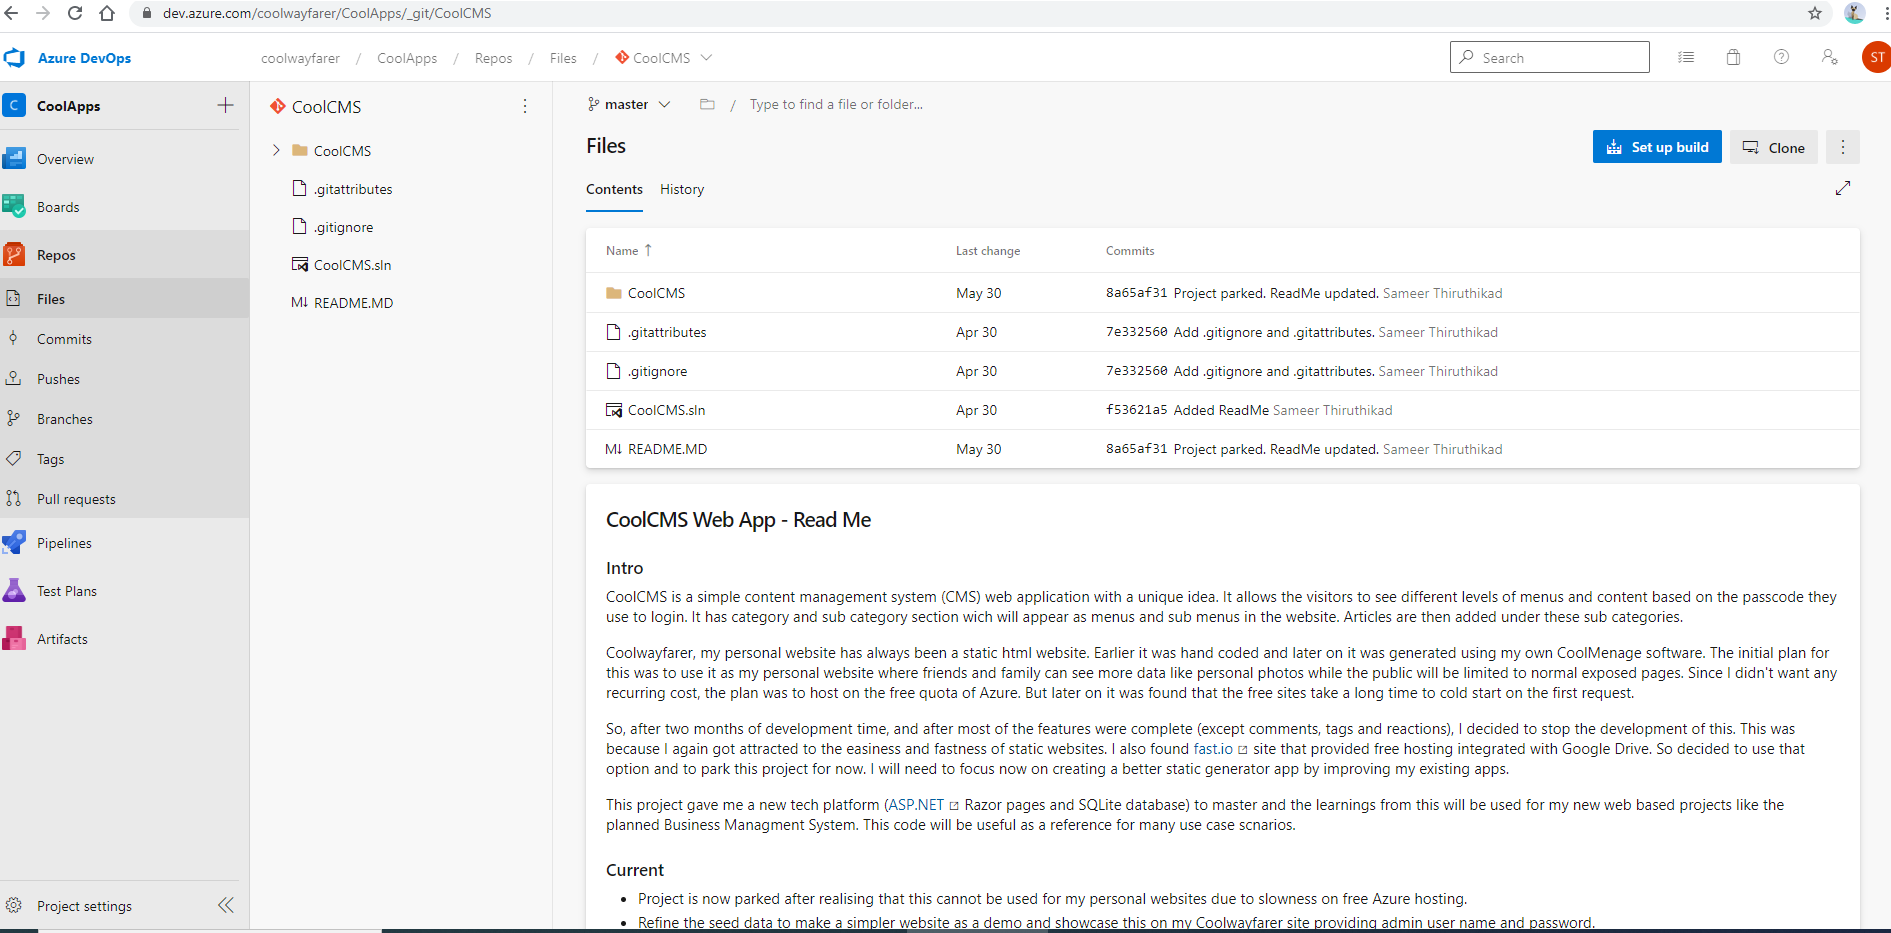
- Go to Azure DevOps portal, and check Files section tp see all the files, the content of read me file and history of all commits as well.
- While working on the project, make it a habit to get the latest version from the remote repo (Azure DevOps) first if you collaborating with other people or you are working from different computers.
- To get latest version: Git Changes > "Fetch" (Blue dotted down arrow) and then "Pull" (Blue solid down arrow)
- At the end of the work, commit all changes and then "Push" to the remote repo.

Pages
About Me
Hi, I'm Sameer. I love anything technology related and have chosen the field of Information Technology for my profession. I'm passionate about travel and never miss any chance to Read more...
Disclaimer
The views expressed on this website, be they in text, pictures or sound, are my own and not those of my business, university, employer or colleagues. Any points of Read more...